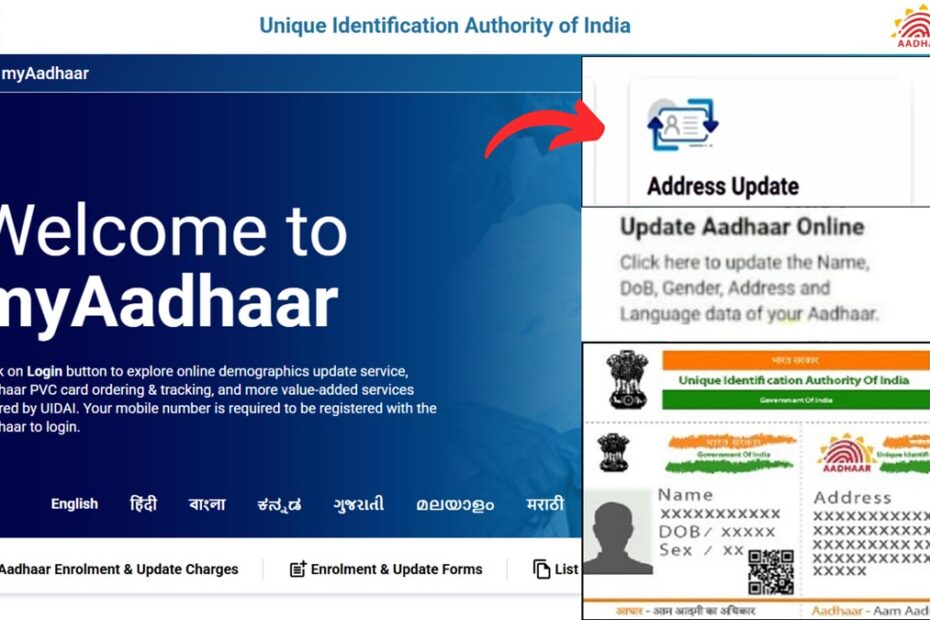
Sometimes it can happen that you might want to correct or update the address in your Aadhar card.
UIDAI has made the online Aadhaar Card correction process of your address easier through their official website uidai.gov.in.
– ADVERTISEMENT –
– ADVERTISEMENT END –
For correcting others details such as name, Date of Birth, and Gender, you need to visit Aadhaar Seva Kendra.
In this article, you will get to know the following details about Aadhar Card correction online,
Let’s see each of these points in detail.
Documents required for online Aadhar address correction
The documents required to correct the address in your Aadhaar card online are,
- Aadhar number
- Mobile number linked with Aadhar
- Address Proof
– ADVERTISEMENT –
– ADVERTISEMENT END –
Aadhar card address correction charges
You need to pay a one-time fee of Rs. 50 to correct any data in your Aadhar card online.
This fee can be paid online using a Debit/Credit card, Net Banking, UPI, etc.
Steps to correct or update address in your Aadhar card online
To correct the address in your Aadhar card online,
Step 1: Go to the official website of myAadhaar
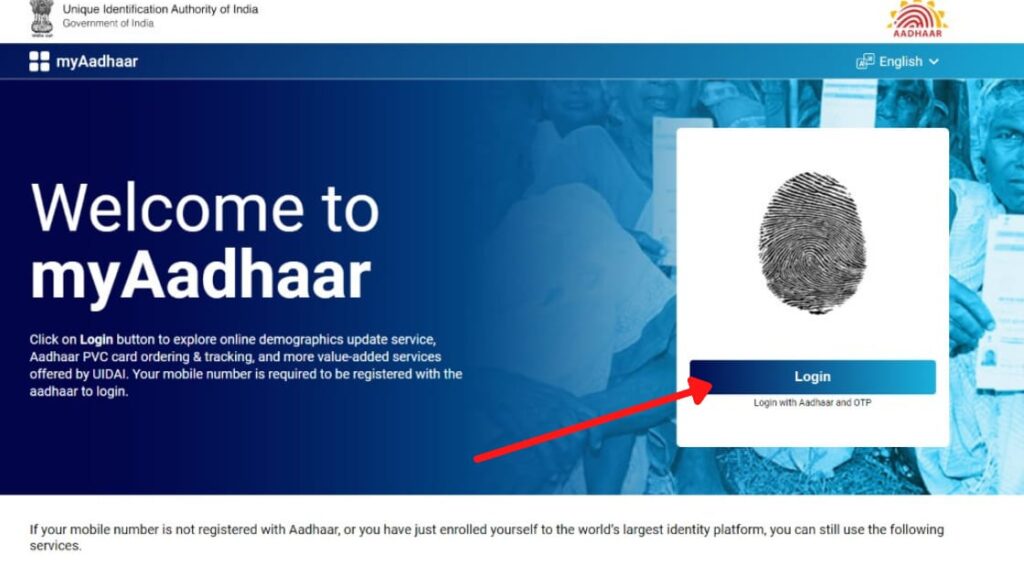
- First, go to the myAadhaar web portal at myaadhaar.uidai.gov.in.
- Next, click on the ‘Login’ option.
- A new page will open.
(Direct Link to the myAadhaar homepage)
Step 2: Enter Aadhaar number
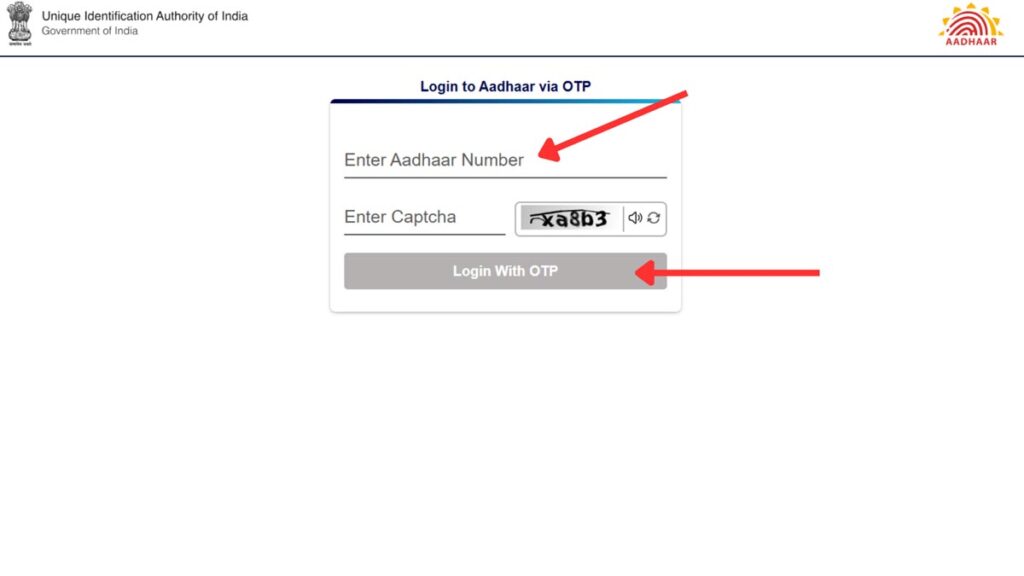
- On the new page, enter your Aadhaar number.
- Next, enter the captcha code and click on the ‘Login With OTP’ button.
- Once you receive the OTP, enter it into the specified field.
- Next, click on the ‘Login’ button.
- You will be logged in to the portal.
– ADVERTISEMENT –
– ADVERTISEMENT END –
In case you have forgotten your Aadhaar number, you can get it by following the steps given in the article below.
Click to know the steps to get your Aadhaar number online.
Step 3: Click the ‘Update Aadhar Online’ option
- On the myAadhaar portal, click on the ‘Address Update’ option.
- Next, click on the ‘Update Aadhar Online’ option.
- Next, click on the ‘Proceed to Update Aadhar’ button.
- A new page will open up.
Step 4: Enter Aadhaar details to be corrected
- On the new page, select the ‘Address’ option.
- Next, click on the ‘Proceed to Update Aadhaar’ button.
- Next, enter the new or correct details properly in both English and your local language.
- Next, select the ‘Manual Upload’ option.
- Now select the supporting document type.
- Next, click on the ‘Continue to Upload’ button.
- Now select the document (PDF) and upload it.
- Next, click on the ‘Next’ button.
– ADVERTISEMENT –
– ADVERTISEMENT END –
Step 5: Preview changes
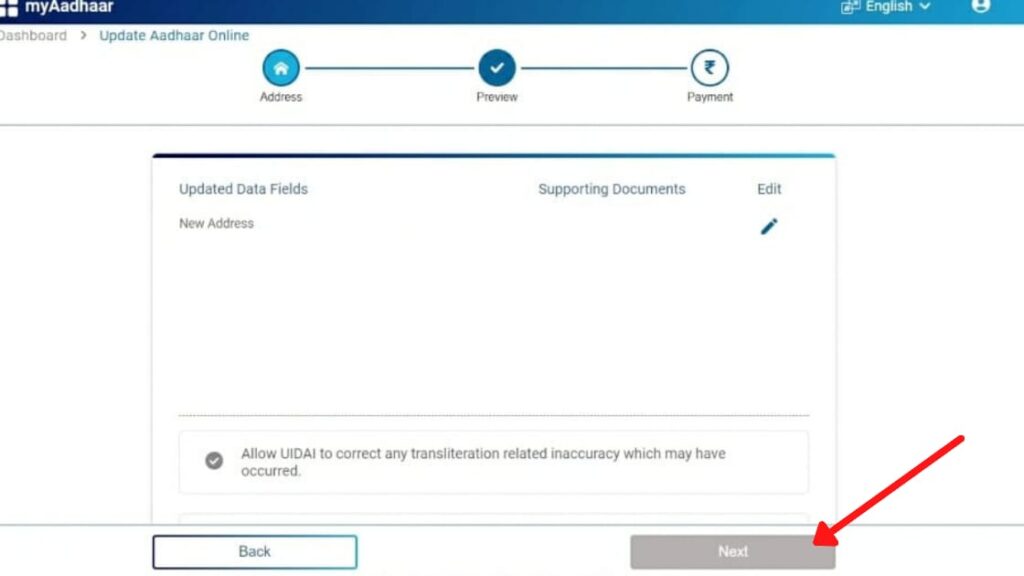
- On the next page, preview the changes made.
- You can edit the changes made in case you have made any mistakes by clicking on the ‘Edit’ option.
- If everything is correct, click the Checkboxes.
- Next, click on the ‘Next’ button.
- A new page will open.
Step 6: Complete the Payment
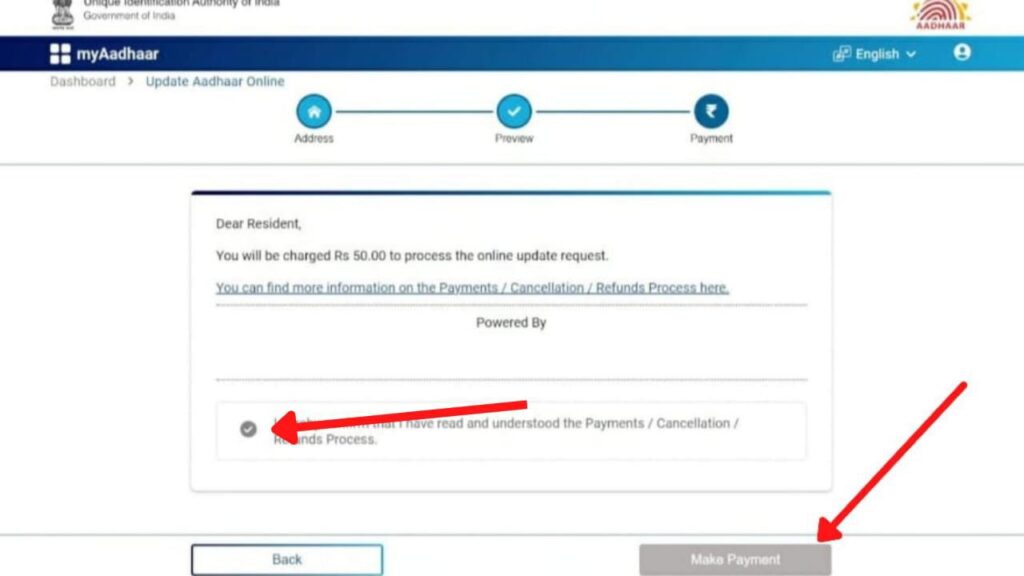
- On the new page, click on the checkbox.
- Next, click on the ‘Make Payment’ button.
- Next, select your desired payment method.
- Complete the payment of Rs.50.
- After completion, you can download the acknowledgment slip of the payment.
Your application for Aadhar card correction will be successfully submitted.
– ADVERTISEMENT –
– ADVERTISEMENT END –
By following these steps you can easily apply for address correction in your Aadhaar card online.
You can check the status of your application by following the steps given in the article below.
Click to know the steps to check the status of your Aadhaar card correction online.
In case you have made any error during the application or want to cancel the update request for any other reason, you can do it online.
