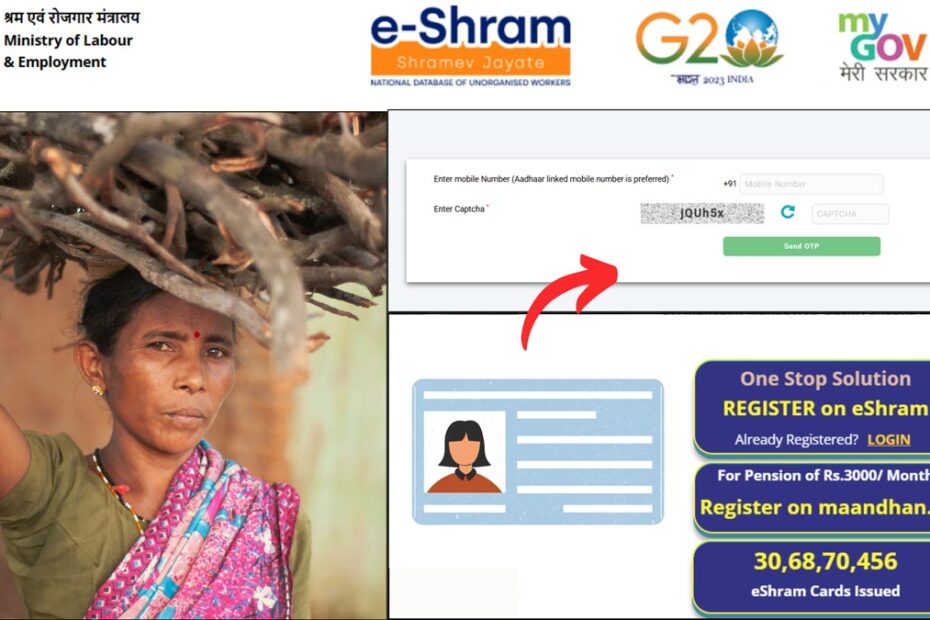
You need to correct your e-Shram card details if you have already registered on the e-SHRAM portal and got a Shramik card made but you have entered some information wrong while filling the form.
The central government has made it easier to update or correct your e-Shram card details online through the e-SHRAM portal at eshram.gov.in. These corrections can be in your name, address, date of birth, bank account, education and income, occupation and skill, etc.
– ADVERTISEMENT –
– ADVERTISEMENT END –
In this article, you will get to know about the step-by-step process to apply for an e-SHRAM card or Shramik card correction online.
So, let’s see the process in detail.
Steps for e-Shram card details correction online
To correct the details in your e-Shram card,
Step 1: Go to the official website of e-Shram

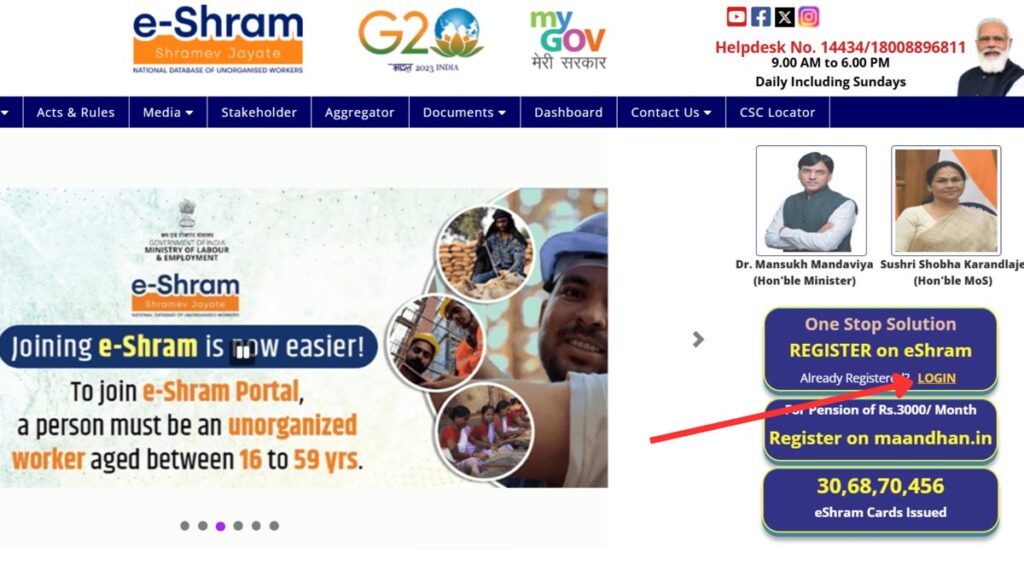
- First, go to the official website of the e-SHRAM portal at eshram.gov.in.
- On the home screen, click on “Already Registered? Login”.
- A new page will open.
Step 2: Enter your mobile number or UAN

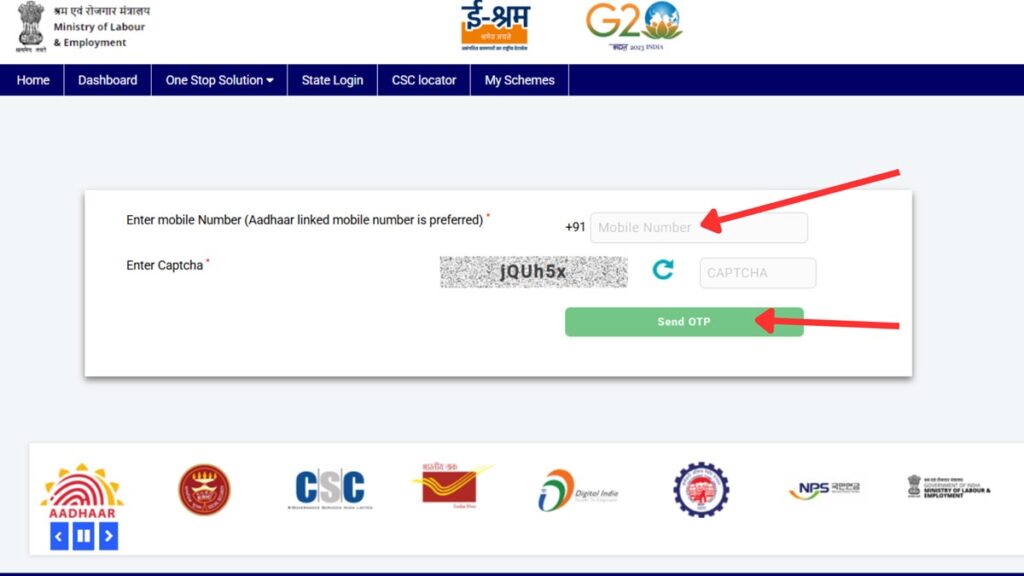
- On the new page, enter your mobile number used during registration.
- Next, enter the captcha code.
- Next, click on the “Send OTP” button. An OTP will be sent to your registered mobile number.
- Next, enter the OTP once received and then click on the “Submit” button.
- A new page will open.
– ADVERTISEMENT –
– ADVERTISEMENT END –
If you want to login using your UAN number, first click on the ‘One Stop Solution’ option on the top menu. Next, click on the ‘Login Using UAN’ option.
Step 3: Correct details
- Now, two options, ‘UPDATE PROFILE‘ and ‘DOWNLOAD UAN CARD‘ will appear in front of you.
- Click on the “UPDATE PROFILE” button.
- Next, all the information that you filled in while filling out the registration form will be open in front of you.
- Next, click on the option you want to correct.
- Next, make the required corrections.
- Once done, click on the “Save” button.
The details in your e-Shram UAN card will be updated.
By following the steps, you can easily correct the details in your e-Shram card online.
In case you have not yet applied for an e-Shram card, you can do it by following the steps given in the article below.
